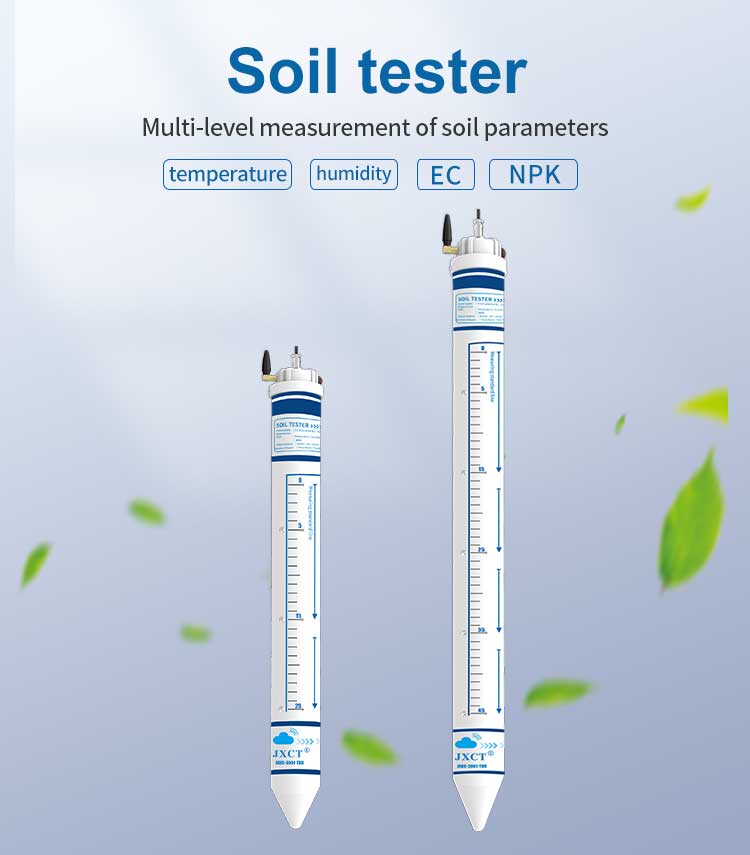
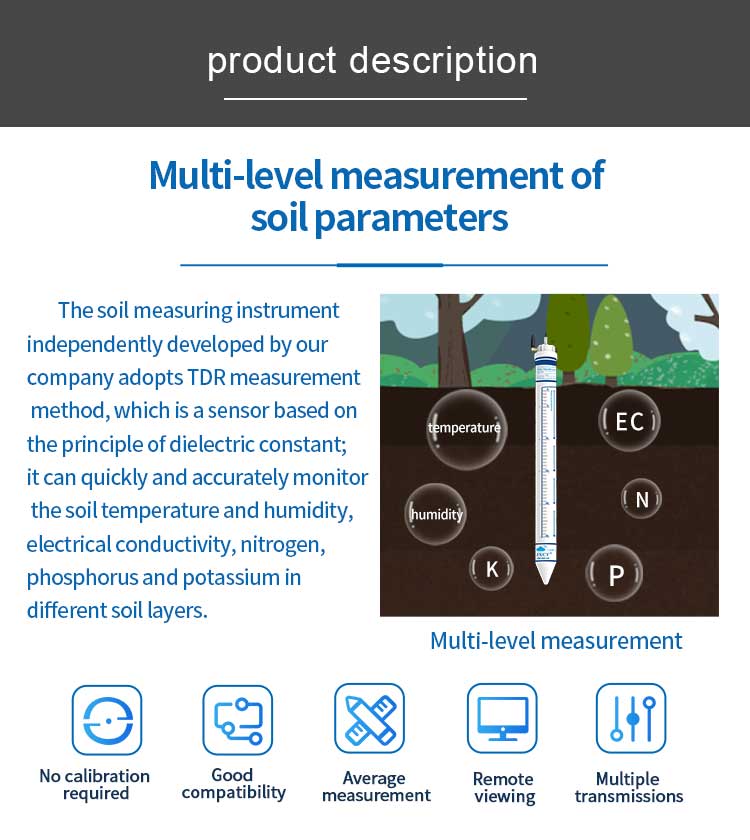
Product Introduction:
Soil water potential sensor does not need special communication lines, relying on the ubiquitous mobile phone signal network can realize the Internet of things detection. The sensor adopts stable and reliable operator network, with mature technology, stable transmission, strong signal and wide coverage, etc. In addition, the device collects data periodically and proactively uploads data to the server. The soil moisture monitor is a sensor independently developed by JXCT, which can measure the soil moisture change at any point in the soil. It is also a sensor based on the dielectric constant principle. It can monitor soil moisture in different soil layers quickly, accurately and comprehensively. Soil moisture plays an very important role in the growth of crops, and using our company research and development of soil water potential sensor can accurately measure the soil moisture change, through the test data to improve the soil, make crops is in the best survival environment, so as to improve production, and the assessment of soil greatly convenient for the customer system.
* Model: JXBS-3001-ST
* Minimum order quantity: 1 piece
* Delivery time: within 24 hours
Features:
1. The shell of this multi-depth soil sensor is made of PVC plastic pipe, which sends out a high-frequency detection wave of nearly 1G Hz inside, which can penetrate the plastic pipe and effectively sense the soil environment.
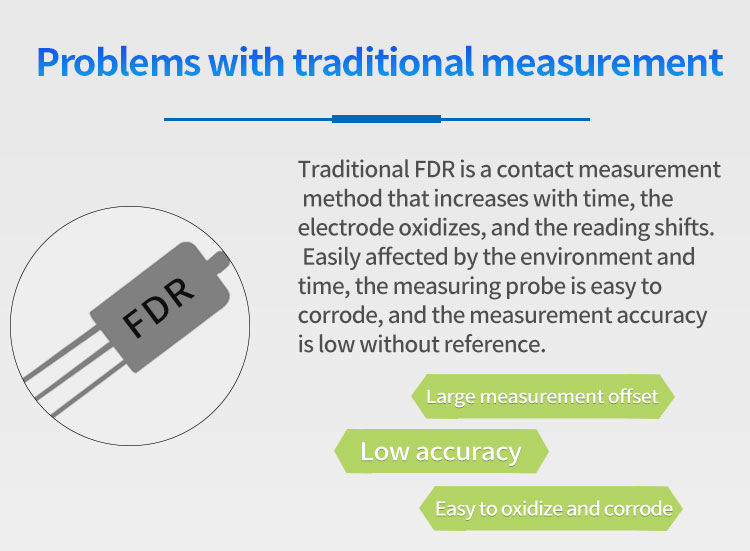
2, the multi-layer soil sensor is not affected by salt ions in the soil, fertilizer, pesticide, irrigation and other agricultural activities will not affect the measurement results, the data is accurate.
3. The sensor electrode is not in direct contact with the soil to avoid the interference of electricity on the soil and the plants in the soil.
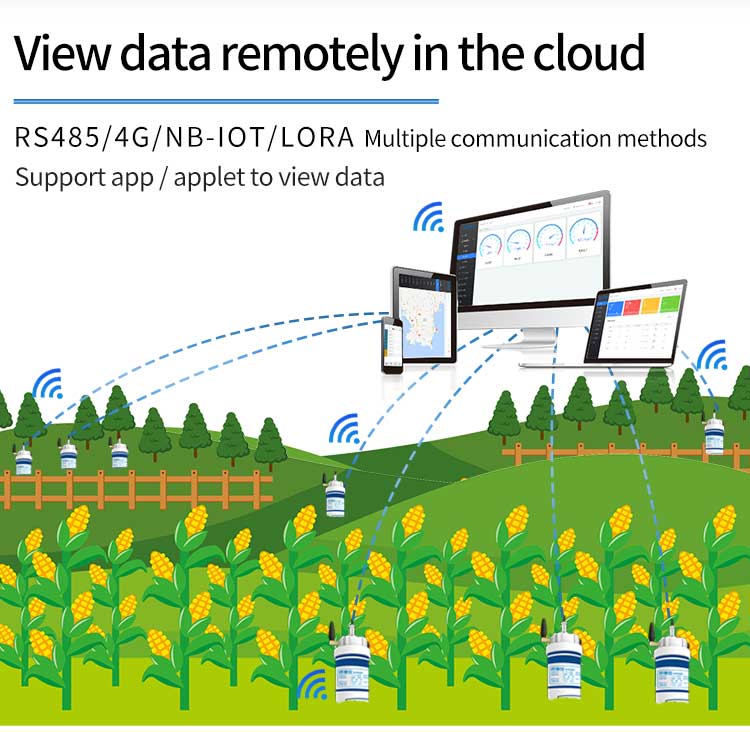
4, multi-depth soil sensor adopts standard Modbus-RTU485 communication mode, the farthest communication distance is 2000 meters.
5. Support 10-30V wide voltage charging.
Parameters:
Determination parameters: soil water potential
Model: JXBS – 3001 – ST
Power supply: 12-24V power supply
Measurement principle: FDR
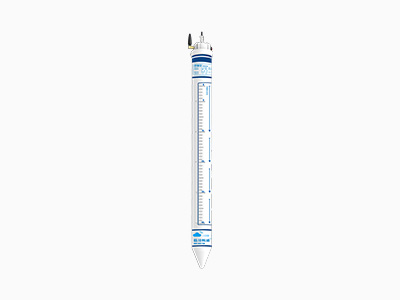
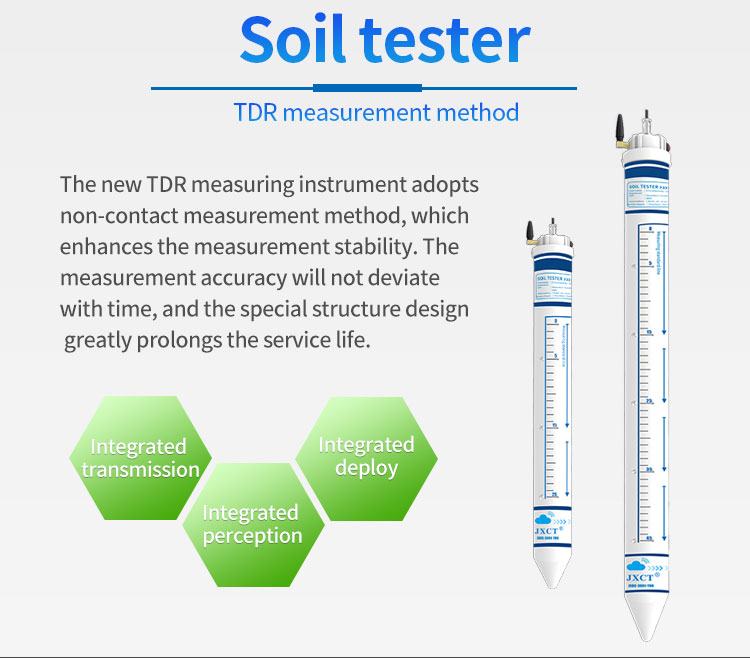
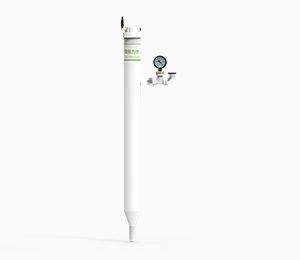
Appearance type: Tube type
Water potential measurement range :0 ~ -100kPa
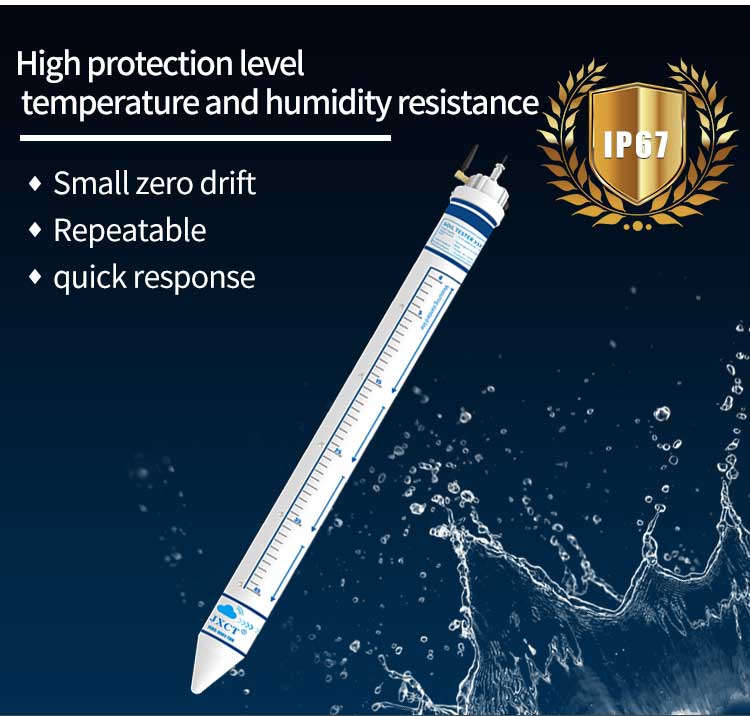
Protection class: IP67
Operating temperature: 5℃ to 45℃
Operating humidity: 0 to 95% (relative humidity), no condensation
Power consumption: ≤0.5W (@12V DC, 25℃)
Working pressure range: 0.9-1.1atm
How to use Soil moisture monitor:
Installation Step 1
Use an earth drill to drill holes in the right places
1. Place the drill vertically on the ground, firmly hold the handle with both hands, press it downward, and slowly rotate it clockwise. (Note: Don’t push too hard, and be sure to turn slowly a few more times to avoid the bit running into the hole.)
2. Take the earth drill out of the hole and put it in the bucket, and collect the soil in the earth drill into the bucket for the next step and mud. (Note: Not collected due to excessive impurities in the first soil drilling)
3. Repeat the above drilling and soil extraction. In this process, try to gently put the sensor into the hole (do not forcibly touch the bottom) to test whether the hole depth is appropriate; If stuck, correct using a soil drill to ensure smooth insertion and removal of the sensor; Drill holes until the hole depth is flush with the installation position marked on the sensor.
Installation Step 2
System of mud
1. Pick out the impurities in the soil taken out by the drill, such as rocks, grass roots, soil blocks, etc., which are not soluble. Gently rub the soil to mix with the mud.
2. Pour in an appropriate amount of water and stir evenly until it is thick. Loam is generally not thicker than “sesame paste”; And mud finished.
Installation Step 3
Grouting installation
1. Slowly pour the mud into the hole, about 1/2 of the hole. Can be increased or decreased according to the actual situation.
2. Place the sensor into the hole slowly, rotate the sensor in one direction slowly, and press the sensor downwards. If the speed is too high, the bubbles may not escape completely. (Note: Do not pull up the sensor during rotation and re-pressing to prevent gas from being sucked into the hole again).
3. When the sensor is installed to the correct depth, some mud will overflow around the equipment to complete grouting; The mounting depth of the sensor is flush with the hole position. (Note: Remove excess mud from 3CM around the sensor to prevent caking and water infiltration).
Installation Step 4
The installation is complete
After the power cable and 485 communication cable are connected to the device, the device will beep, and the device will be turned on and can work normally. It is recommended to carry out normal work after the mud returns to normal.
FAQs:
How to select the installation location?
1. Install multi-depth soil sensors after planting crops
2. The installation position must be level
3. Under full irrigation, the area with less water is preferred as the monitoring position; under partial irrigation, the wet area is selected as the monitoring position
4. Choose a location that is balanced and representative of most crops
5. To understand the distribution of the root system of monitored crops, crop systems located close to water-absorbing roots are generally selected.
Note: The installation site of the equipment should be selected on high ground to prevent short circuit or line failure caused by rain flooding into the equipment.
Reviews
There are no reviews yet.