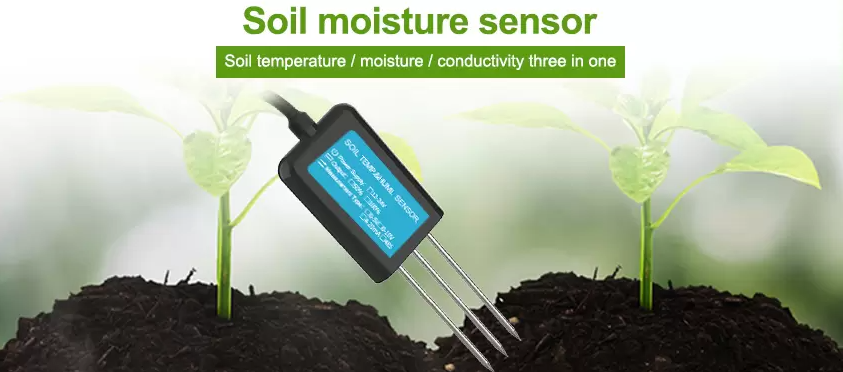
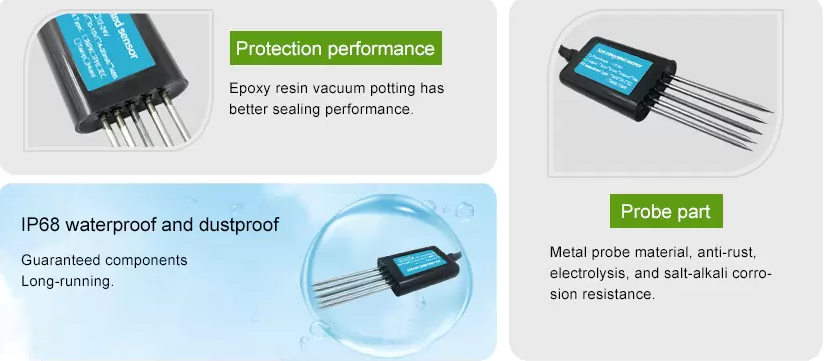
Efficient irrigation management can improve yields, grain quality, conserve water and energy, and reduce nutrient leaching. One of the easiest and most effective ways to improve irrigation efficiency is to implement soil sensor technology in irrigation scheduling. This article provides basic knowledge and practical recommendations for using soil moisture sensors for irrigation scheduling.
Types of soil moisture sensors
Soil moisture sensors are divided into two categories depending on the technology they use: 1) Sensors that measure volumetric water content and 2) Sensors that measure soil tension when placed in the soil profile. Lists of the most common sensors available in each category and their pros, cons and costs are below.
Soil moisture sensors measure or estimate the amount of water in the soil. These sensors can be stationary or portables such as handheld probes. Stationary sensors are placed at the predetermined locations and depths in the field, whereas portable soil moisture probes can measure soil moisture at several locations.
A better understanding of the basic principles, definitions, and terms behind the soil-water-plant relationship is essential to effectively utilize soil moisture sensors.

Soil water tension or matric potential sensors
Soil water tension indicates the energy required by plant roots to extract water from soil particles. As soil water is removed from soil, soil tension increases. Soil tension is expressed in centibars (cb) or bars of atmospheric pressure. When the soil is full of water, soil water tension is close to zero. For coarse textured soils, AWC is 50% depleted when soil tension is at 25-45 cb. In these soils, a crop should be irrigated before the sensor indicates 25-45 cb.
However, soil tension measurements are soil specific and can be inaccurate.Depending on your crop and soil observations, soil tension limits should be refined. For example, note the soil tension at the earliest indication of water stress and always make sure that you irrigate before it reaches that point.
You can also track your water movement by taking measurement right after an irrigation event. If your bottom sensor after irrigation indicates zero reading that means you might have irrigated more than required, but if it shows no movement that means you irrigated less.

Tensiometers
Electrical resistance sensors
Sensor installation and placement
Sensors should be placed at several different depths and locations in the field. Typically, sensors are placed in pairs at one-third and two-thirds the depth of the crop root zone and at two or more locations in the field, preferably in the representative soil type away from high points, depressions and slopes.
Some fields contain both heavy and light textured soils. In those fields, it is recommended that each soil type be monitored and managed separately for irrigation. Field mapping technologies can be used to identify different soil, such as electromagnetic conductivity (EM) mapping. By identifying different soils (different water holding capacities), management zones can be created that can be managed separately.
Where to place sensors
Place stationary sensors between plants within a crop row at their desired depths.
Flag the sensors so field equipment operators can see where they are and prevent damage to them.
Do not install the sensors close to the pivot wheel track and make sure that the sensor is in direct contact with soil and there is minimal soil disturbance during installation.
How to install sensors
The method of installation is dependent upon the design of the sensor. Follow the installation instructions given by the manufacturer. In general, soil moisture sensor installation is done in one of two ways:
By digging a hole or a trench and installing sensors horizontally at different depths or
By using an auger or soil sampling probe to bore a hole and install sensors vertically.
Care must be taken when drilling the hole. Do not install the sensor in an oversize hole as it may cause voids and air gaps. To prevent air gaps, some users use a mixture of soil and water (soil slurry) during the installation; however, in many cases, the structure of the slurry does not match the surrounding soil, which may adversely affect the sensor reading.
Other recommendations
Use data loggers to store and log the data. This will help in data interpretation and quick decision making.
Use soil moisture data with irrigation scheduling tools such as checkbook method or daily crop water use data from Central Minnesota Ag Weather Network.
Read the sensors every two to three days.
Flag the location of the sensor for easy accessibility.
Always irrigate to replenish the soil moisture to less than field capacity so that there is some room for potential rainfall.
Consider your pumping capacity and application efficiency for scheduling irrigation. See Pumping capacity in Irrigation management strategies.