Soil pH meters are devices used by home gardeners and agricultural professionals to measure the acidity or alkalinity of a soil. Getting your soil pH right is a must if you want to produce healthy, vibrant plants. To get accurate measurements you need to know the right procedure for your soil pH meter.
What is soil pH, and why does it matter?
Soil pH meters are devices used to measure the acidity or alkalinity of a soil. They work by measuring the hydrogen ion activity and this is expressed through the potential for hydrogen or ‘pH’. The pH scale ranges from 0 – 14 with 0 being extremely acidic, 7 being neutral and 14 being alkaline.
The ideal pH range for most plants falls between 5.5 and 7.5. Although, some plants are still able to thrive outside of this range. Soil pH affects the uptake of key nutrients, so when pH is out of the ideal range there is a chance your plants and crops are not having optimum nutrient uptake and therefore not reaching their full growth potential.
Soil pH can be affected by many things. The most common influences on soil pH are weather, fertilizer, type and amount of irrigation, soil type, other plants in the area and nutrient availability. This means soil pH can change considerably and it is absolutely essential to take regular measurements using a soil pH meter to ensure healthy growing plants.
What to look for when selecting your soil pH meter
There are many types of soil pH meters in different shapes and sizes to suit all applications, ranging from meters for the avid home gardener to large agricultural operations. When selecting the right soil pH meter for you here’s a list of things to consider.
Portability. Will you need a pH meter that is lab-based, field-based or a combination?
Method. Can soil be sampled directly or is dilution required?
Functions. Are other built-in functions required? For example, soil moisture and conductivity.
Length of the probe. The minimum sample depth is generally 20cm. Different plants and crops require measurements to be taken at varying depths.
Accuracy. Traditionally direct soil sampling is less accurate than the dilution method.
Calibration. Does the device come with any buffer solutions to calibrate your meter?
Sampling time. How long does it take to get a result?
Device and electrode durability. Take care as direct ground measurement can damage the glass within an electrode.
Example Types of Soil pH Meters
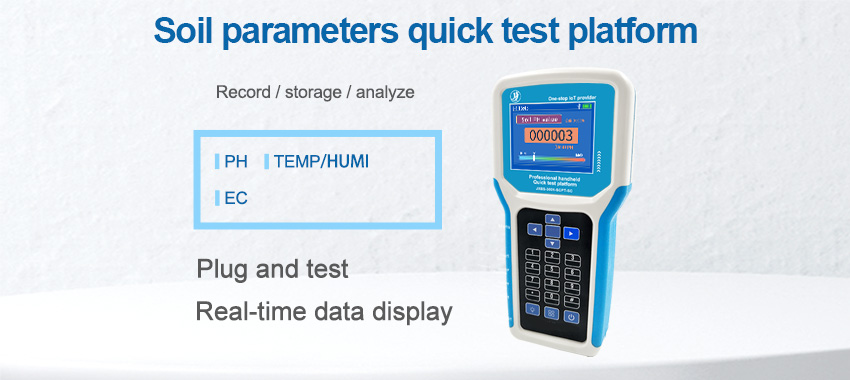
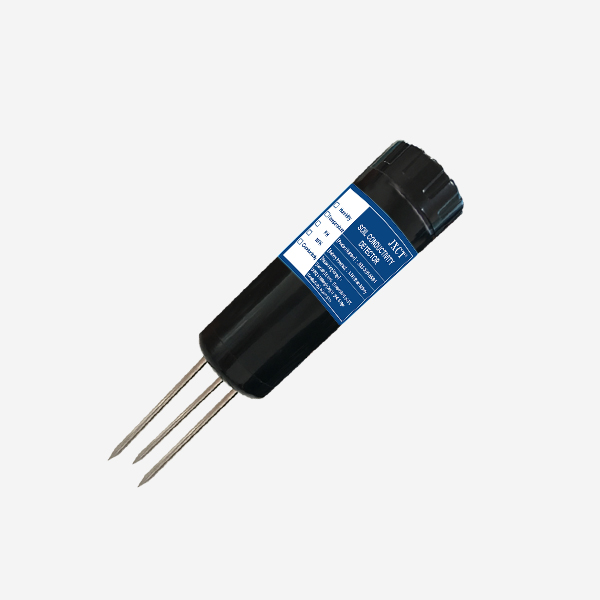
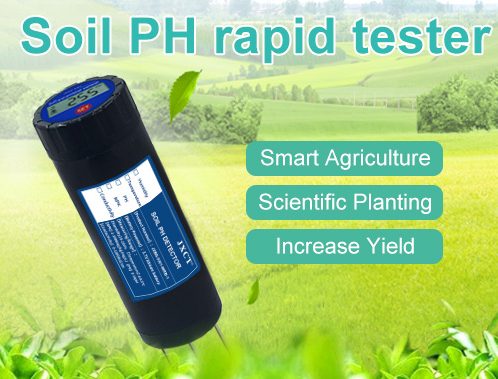
Portable PH soil tester is a device that measures the current pH of the soil. It detects soil pH by inserting two stainless steel probes vertically into the soil. We provide RS485 soil pH sensor, 0-5V soil pH sensor, 0-10V soil pH sensor and 4-20mA soil pH sensor. The sensor can be used in conjunction with our soil data logger.
The shape of the soil pH tester is hand-held design, convenient for users to carry, using a single needle probe design, the probe is made of austenitic 304 stainless steel, with good corrosion resistance, strength and toughness series characteristics. Suitable for a variety of gardening places, to meet the soil testing work of a variety of planting places, can comprehensively care for a variety of flowers and plants.
How to use a soil pH meter
There are two methods for testing the pH of soil using a soil pH meter. This can be done either through direct ground measurement or measurement with a soil solution using a 2:1 method.
a. Direct ground measurement
Tools required
- Soil pH meter with electrode
- Auger or shovel
- Tap water
- Distilled Water
- Gloves (Recommended)
Method
- Be careful there are no rocks or stones present. Dig and discard approximately 5cm of topsoil.
- Perforate the soil using a shovel or auger to a depth of about 20cm or more.
- If the soil is dry, moisten with a small amount of distilled water.
- Rinse the electrode with tap water (Not distilled).
- Using gentle pressure push the electrode into the soil, ensuring proper contact. Do not force as this could risk damaging the electrode.
- Wait for reading to settle and observe the measurement.
- Once finished, wash the electrode in tap water (not distilled) and gently remove any remaining soil using your fingers. Try and avoid using a cloth as this could damage the electrode.
- Repeat procedure in a number of locations for your sample. For best results consider the average of the measured data.
Positives and negatives in using this method
Positive – Can be done on the ground and have a more instantaneous result.
Negatives – Risk of damaging spear/electrode. Results are generally less accurate.
b. Measurement with a soil solution 2:1 method
Tools Required
- Soil pH meter with electrode
- Auger or shovel
- Ziplock bags
- Deionised water
- 250ml Beaker or Cup
- 2mm Sieve
- Gloves (Recommended)
Method
- Dig and discard the first 5cm of topsoil.
- Perforate the soil using an auger or shovel to a depth of 20cm or more. Take the same quantity of soil for each sample.
- Mix all the collected samples together. Make sure any sticks, rocks or foreign matter are discarded from this mix.
- Sieve the mixed soil sample on a 2mm screen and discard any overs.
- Weigh 25 grams of the sieved soil and measure 50ml of deionised water. Mix for 30 seconds.
- Wait a minimum of 5 minutes.
- Mix again then insert the electrode into the solution for your measurement.